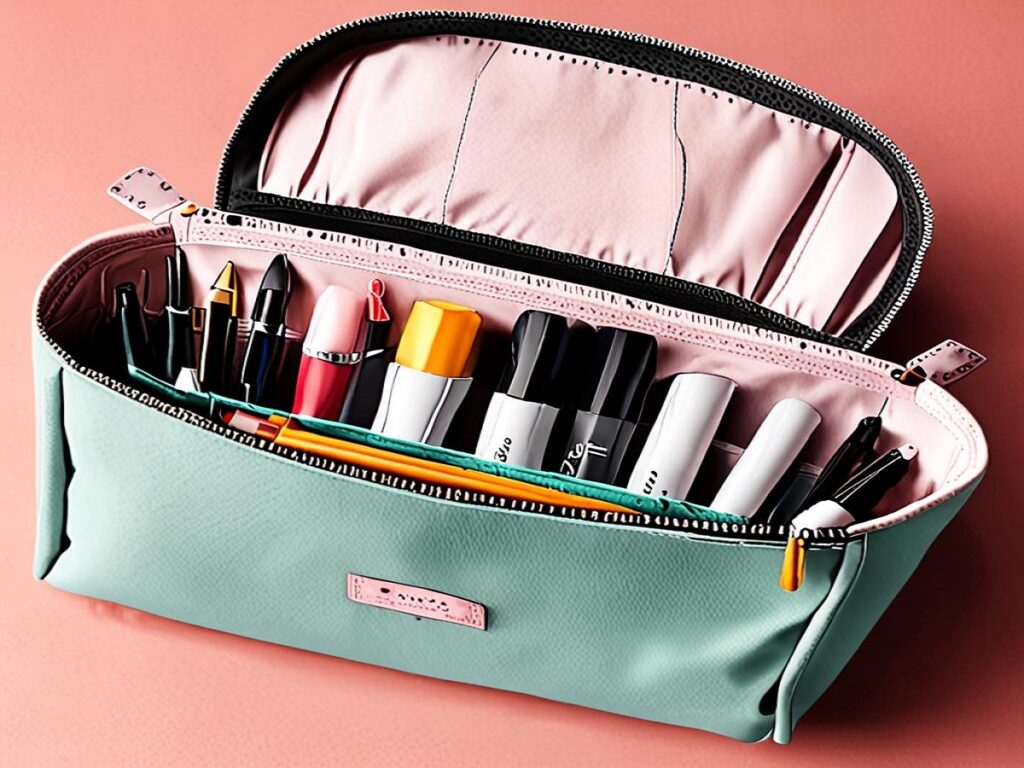
DIY My Cosmetic Pouch
Learn how to DIY your cosmetic pouch with these easy, step-by-step instructions. Perfect for beginners, this guide makes creating your pouch fun and simple!
Introduction

Have you ever wished to design your custom cosmetic case all by yourself without having to spend much? For those who want to pinch their pennies or reuse items rather than buying new, those looking to minimize their waste, or individuals wishing to free their creative spirit, instructions on how to DIY a cosmetic pouch are an enjoyable task. Also, it’s perfect for makeup pouch personalization according to your makeup or skincare products.
In this instructive, let me show and explain to you how you can produce your cosmetic pouch in the comfort of your home. Oh no, don’t stress, if you’ve never attempted a DIY project before, fear not, for we have simple step-by-step guides. Ok then, so let’s gather the materials and begin your cosmetic pouch journey today!
Why DIY a Cosmetic Pouch?
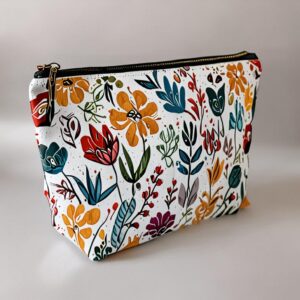
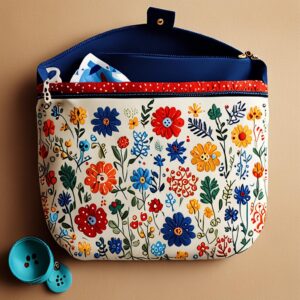
Designing a cosmetic purse yourself has many advantages. First of all, you can adjust size, design, and material according to your temperament and requirements. Are you fond of some extraordinary florals or rather more captivated by clean lines? You get to choose! However, cosmetic pouches made from scrap materials boast one of the highest cost-saving measures, should you decide to fashion your own from fabric scraps or worn-out clothes. This is not only cheap but also eco-friendly The use of such a technology is therefore right for any organization that wants to save on costs while at the same time being environmentally conscious.
Here are some reasons why DIYing your cosmetic pouch is a great idea:
- Customization: This way you get to decide what fabric you want to use, the size of the garment, and the design as well.
- Cost-effective: Produce with items that you have at home.
- Eco-friendly: Reduce, reuse, and recycle in the sense that upcycling rejects fabrics that would otherwise be discarded to minimize waste.
- Creative outlet: Be yourself in the design and the process.
Now that we’ve discussed more about DIY cosmetic pouches, let’s move to the guide on how to create one.
Materials You’ll Need for Your DIY Cosmetic Pouch

Before you start crafting, gather all the necessary materials. Luckily, the supplies needed to DIY a cosmetic pouch are simple and affordable. Here’s what you’ll need:
Basic Materials:
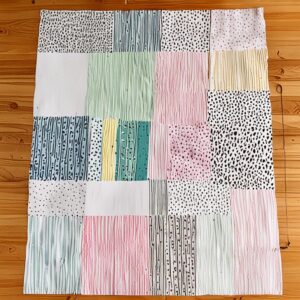
- Fabric: Pick any type of material that you would prefer, regardless if it is cotton, denim, or canvas. It will take double pieces of material – one for the outer part and the other for the inside part.
- Zipper: A 6 – 8 inch zipper is perfect for most cosmetic pouches.
- Thread: Choose a thread colour that you think will work well with your choice of material.
- Sewing Machine or Needle and Thread: If you have worked with the sewing machine before, it might take you less time to accomplish the work, but even if you sew by hand, it’s OK.
- Scissors: For cutting fabric.
- Pins: Used in sewing fabrics so that they do not slip when you are sewing them.
- Measuring Tape: For cutting purposes primarily to determine areas or lengths of fabric pieces.
Once you have all your supplies, it’s time to proceed to the exciting part: creating your pouch.
Step-by-Step Guide to Making a DIY Cosmetic Pouch
See the guidelines below that will help you make your cosmetic pouch from scratch: This is quite easy, do not fret if you do not know how to sew: this is a simple tutorial.
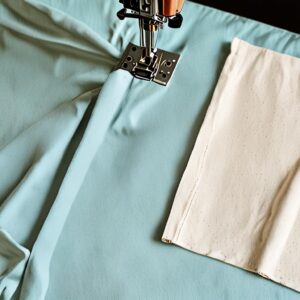
Step 1: Cutting the Fabric

The first step involves preparing the outer layer and inner layer, so you will have to cut; 2 pieces of fabric for the outer layer and 2 for the inner layer. That depends on the kind of pouch that you want to make; large or small. When beginning, the size that should be chosen is 8 x 10 inches. Make sure you are cutting your pieces perfectly so that when you join them they will not have loose edges.
- Pro Tip: To do this ensure that you use a measuring tape so that all pieces that are being used in the preparation of the dough are of equal size. It is wise to mark your fabric before cutting so use chalk or a fabric pen to do so.
Step 2: Sewing the Zipper
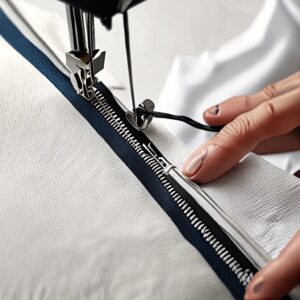
Place the zipper face down on the right side of one piece of outer fabric, aligning the edge of the zipper with the fabric’s top edge. Pin it in place. Then, sew along the edge, securing the zipper to the fabric.
Repeat this step with the other outer fabric piece and the opposite side of the zipper. Make sure your stitches are even and straight!
Step 3: Attaching the Lining
Having completed the insertion of the zipper on the outer fabric now it’s the right time to sew the lining. Lay one of the lining fabric pieces on the back of one of the outer fabric pieces with the wrong side facing up. Put the lining and the outer fabric right sides together, so that the zipper is sandwiched in between.
Do the same for the other half of the zipper where the other strip of lining and the outer fabric is. After this, sew on the zipper line to join the lining part of the garment.
Step 4: Sewing the Pouch Sides
Zipper placed in the open position, sandwich outer fabrics (right sides together) and do the same with the lining fabrics. Remember this is the state in which you will turn your pouch right-side out, therefore make sure the zipper you have left opens in the middle.
Stitch the liner fabric and the outside fabric leaving a small door at the bottom part of the liner fabric to help turn the pouch inside out.
Step 5: Finishing Touches
When they are sewn simply turn your pouch right side out through the small hole left in the lining for this purpose. Squeeze the corners to make them create the shape of the pouch you want. Last of all, join the cut opening of the lining right down; this should be tucked into the pouch.
Congratulations! Well done, you might now pat yourself on your back for you’ve just created your cosmetic pouch! Now it can also be used to store some of your beauty accessories such as make-up items, brushes, or skin care products.
Customizing Your DIY Cosmetic Pouch
One of the startup activities that make cosmetic pouch-making enjoyable is the flexibility to personalize. Here are some fun ways to personalize your pouch:
Add Embellishments
You can finish off your pouch with buttons, and beads or even use embroidery to give it character if needed. Such minor additions can turn your pouch into a one-of-a-kind, personal accessory you have never seen before.
Experiment with Fabric Types
They also asked me why not changed the fabric. The pouch gives a whole new glossy look with faux leather or velvet or a simple patterned cotton fabric. Combine various fabrics to achieve a product with no comparison.
Play with Sizes
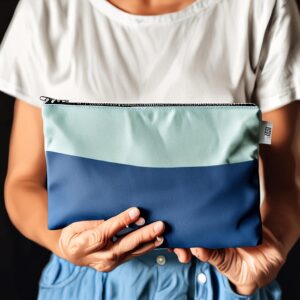
Do you require a small purse in which to house only your lipstick or a large one in which to store all your makeup? The size of your DIY cosmetic pouch can be larger or smaller depending on the size of the fabric pieces used.
Create a Matching Set
If you wish to, you can make deeper pouches that are of slightly different sizes, so that they can be used for all kinds of things. For instance, one small one for the lipstick, another one that is medium for brushes, and then a big one for all your make-up!
Caring for Your DIY Cosmetic Pouch
As much as you want to give your DIY cosmetic pouch a longer life it must be taken very well. Here are some tips to ensure it lasts a long time:
- Wash Gently: For delicate fabrics hand washing or washing in a gentle cycle would be most advisable in order not to cause damage to the fabric.
- Avoid Overstuffing: If you pack many items into your pouch, the seams are likely to stretch or even tear apart.
- Store Properly: That is when you should keep your pouch stored in a cool and dry area to eliminate any unnecessary wear and tear.
Following these few guidelines, your DIY cosmetic pouch will remain as good as new for years of use.
Conclusion
It is a fun and also fulfilling exercise to be able to make your cosmetic pouch. Following the above step-by-step guide, you will be sure to design a pouch of your choice for use. A cosmetic pouch is perfect for anyone whether you plan on making it for your use or use as a gift.
We ought to inquire that this guide has initiated you nearer to embarking on the DIY cosmetic pouch. If you’ve liked this tutorial, please, share it, comment below, or post your finished pouch on FaceBook, or any other community you are a member of. Let’s spread the DIY love.